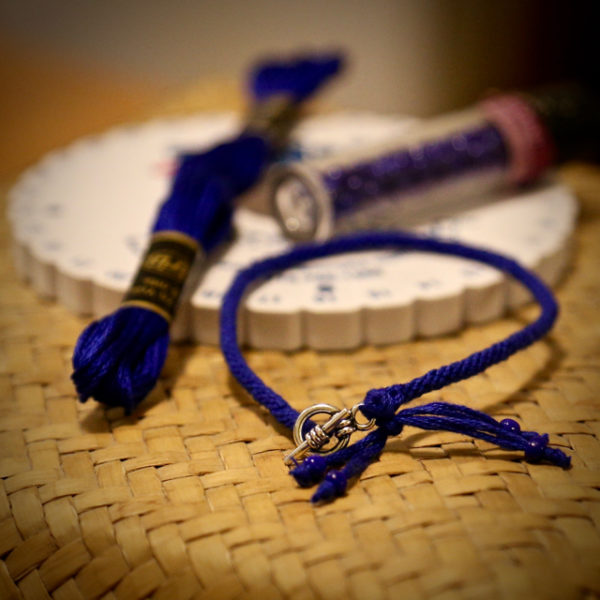
In less than a month, my son will leave for college to pursue a degree in criminal justice. I am both immensely proud of him and terrified. So when a friend of mine created a simple bracelet of paracord and sliding knots in support of our police forces, I was inspired to pull out my long-neglected craft stash and design a copycat kumihimo bracelet. My objective was to design a pattern for a thin bracelet that is easy to modify according to skill level and available materials. The bracelet shown took three to four hours to complete, including gathering supplies.
Materials:
- 1 skein of blue embroidery floss or craft thread, or 8 yards of yarn, ribbon, raffia or similar material
- kumihimo disk (foam or cardboard, manufactured or DIY)
- needle threader or floss threader
- fastener (optional)
- four 6/0 beads (optional)
- lead weight (optional)
Directions:
- Cut embroidery floss into four equal lengths or measure and cut four two-yard lengths.
- Thread each strand through one side of a fastener (the bracelet pictured above features a toggle clasp). Alternative: tie an overhand knot at the center of the strands, creating a small loop.
- Push the fastener or loop through the hole in the kumihimo disk and set up for an 8-strand braid (directions here if needed).
- Braid to desired length, using an optional weight to keep the braid taut. The bracelet pictured is about 7.5″ long.
- Finish by threading half of the ends through the remaining side of the fastener and tying into a square knot. Groups of two strands of floss may be threaded through a bead (as shown), then knotted and cut off. Alternative: braid ends into two strands and knot them through the loop on the other side, or make an overhead knot big enough to fasten through the loop, or tie on a button.
May God bless those who serve and protect.


1 Response